
Food photography for restaurants: your pre-shoot plan
Decide exactly where each image will live (delivery app, menu, website, social) before you book anyone, then build a shot list around your best-selling and highest-margin dishes. Schedule the session for a quiet window, assign one kitchen runner to rebuild plates, and brief your photographer or stylist on that shot list in advance. Do this, and you should see stronger clicks and orders on the platforms that matter most. Alex Gell's Leba Restaurant shoot is a working example of the approach.
TL;DR:
- Focus on photographing top-selling dishes first to maximize order volume impact and prioritize high-margin items for faster profit growth.
- Use natural side lighting and specific angles tailored to dish types, ensuring true color and appealing textures without relying heavily on props.
- Schedule shoots with a clear plan, separating safety shots, creative variations, and ambitious setups to optimize time and resource use.
- Brief photographers with detailed shot lists, usage licenses, and deliverables aligned to every platform to prevent miscommunication and maximize image utility.
- Test new photos on delivery apps by tracking impressions and clicks over two to four weeks, adjusting based on actual order increases rather than assumptions.
Table of Contents
- Why food photography for restaurants needs a usage plan first
- How do you choose which dishes to photograph?
- What lighting and angles work best for menu photos?
- What is the ideal shoot-day schedule for a restaurant?
- How do you brief a photographer or stylist?
- Where should you deploy new photos first?
- A short case note: the Leba Restaurant shoot
- DIY, hire a professional, or go hybrid?
- Book a menu photography session with Alex Gell
- Sources
Why food photography for restaurants needs a usage plan first
Every successful food photography for restaurants project starts with a simple question nobody asks early enough: where is this picture actually going to appear? Delivery apps need tight, fast-loading crops that read clearly at thumbnail size. Your website can carry higher-resolution, wider compositions because visitors linger longer. Social media rewards lifestyle context, a hand reaching for a plate, steam rising from a bowl, rather than the flat, catalogue-style shot a delivery platform demands.
Once you know the destinations, prioritise which dishes get photographed first using a simple filter: revenue impact, visibility on the platform, and how often the image needs refreshing.
- Top sellers first, since they carry the most order volume and have the biggest impact on your revenue.
- High-margin items next, because a better photo on a profitable dish moves the bottom line faster than one on a loss leader.
- Limited-time specials last, shot in the same session but scheduled for quick turnaround before the offer ends.
Skip this step and you end up with a beautiful photo of a dish nobody orders, and a blurry phone snap of your bestseller sitting on the app that drives most of your revenue.
How do you choose which dishes to photograph?
Not every dish on your menu deserves camera time. The ones that do share a few traits: strong texture contrast (crisp against soft, glossy against matte), a colour palette that pops against your plateware, and enough sales volume or margin to justify the effort. Seasonal dishes earn a slot too, since they need refreshing more often than your all-year staples.
Run your shortlist through this checklist before the shoot:
- Photogenic factor: does it have visible texture, layers, or colour variation?
- Sales volume: is it ordered often enough to matter on a thumbnail?
- Margin: does a better photo improve profit, not just visibility?
- Seasonality: will this dish still be on the menu in three months?
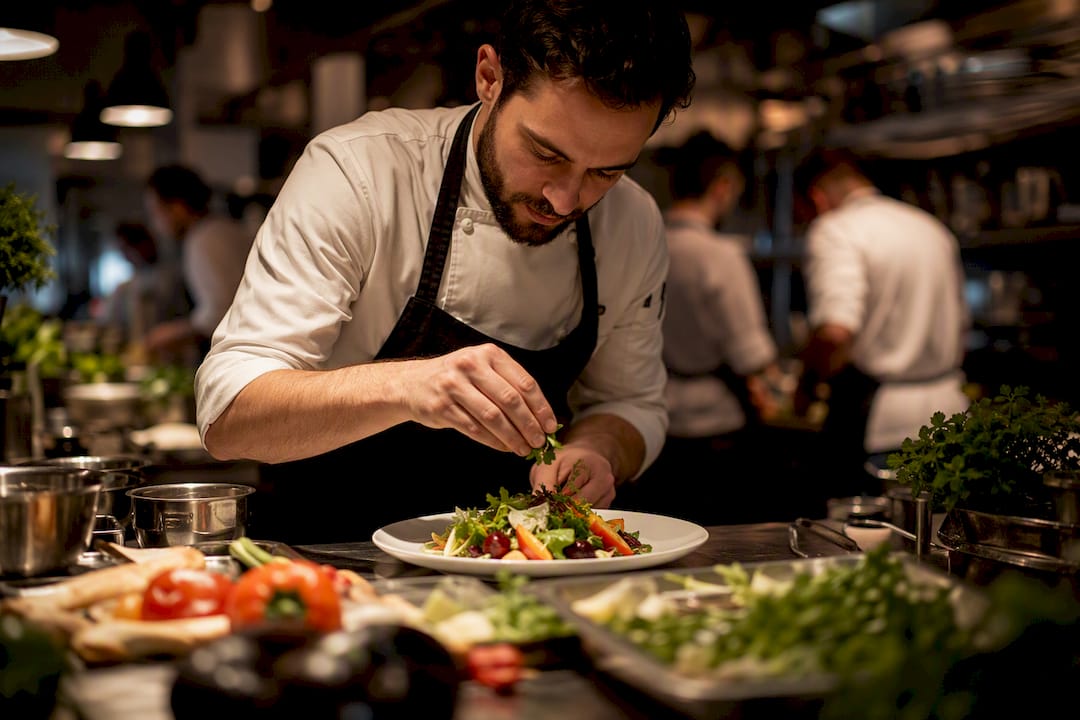
Styling matters as much as selection. Plate the portion exactly as a customer would receive it, since an oversized "hero" portion invites complaints when the delivered version looks smaller. Time garnishes to go on last, and choose props and backdrops that reflect your restaurant's actual style rather than a generic prop kit. Soups, stews, and anything liquid-heavy need extra patience: a shallow bowl, a slightly reduced sauce, and a last-second garnish placement usually fix the "brown sludge" problem.
Pro Tip: Keep two spare portions of your trickiest dish on standby. Soups and stews lose their glossy finish within minutes under lights, and a fresh rebuild beats trying to touch up a collapsing plate.
What lighting and angles work best for menu photos?
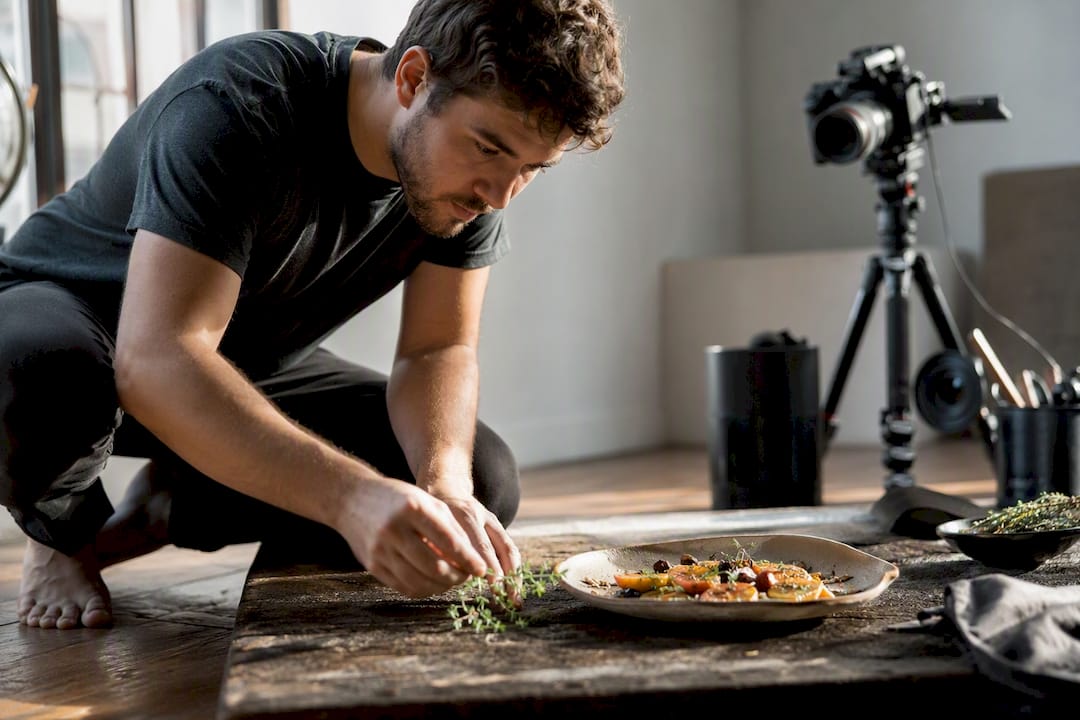
You do not need a studio to get restaurant menu photography right. You need one dominant light source, natural side light from a window or a continuous LED panel, and every overhead fluorescent switched off. Mixing daylight with tungsten or fluorescent bulbs creates a colour cast that no amount of editing fully corrects, and it is the single most common reason restaurant photos look flat or sickly on screen.
Angle depends entirely on the dish:
- Overhead (90°) for flat-lays, pizzas, salads, and anything with a wide, even surface.
- 45 degrees for burgers, stacked dishes, and plates with visible height and layering.
- Eye-level for tall items like cakes, cocktails, and layered desserts where the side profile tells the story.
Composition rules stay consistent across all three angles. Leave negative space so the dish does not fight the crop, put one hero ingredient in sharp focus, and keep scale and framing consistent across the set so your delivery-app thumbnails look like a coherent collection rather than a random photo dump. According to practical restaurant lighting guidance, single-source lighting paired with the correct angle for the dish type is what preserves accurate colour and appetising texture, far more than any prop or filter.
What is the ideal shoot-day schedule for a restaurant?
Wildlife photographer Paul Nicklen built his career on a simple time-management rule that translates surprisingly well to a restaurant kitchen: spend the first 20% of your shoot time locking down the shots you absolutely need, the middle 60% exploring creative variations, and the final 20% on ambitious, higher-risk setups that might not work but could produce your best image.
Applied to a shoot day, that looks like this:
- First 20%: capture every dish on your priority list in a clean, standard composition. These are your safety shots.
- Middle 60%: experiment with props, steam, pours, and garnish variations on your hero dishes.
- Final 20%: attempt the ambitious shots, a cocktail mid-pour, a cheese pull, that need more setup time and might fail.
Appoint one person, usually a sous chef or kitchen porter, as the dedicated rebuild runner. Their only job is producing fresh plates to the stylist's exact spec, not sending out full-service portions that have already sat under a heat lamp. Before the crew arrives, confirm you have:
- Clean surfaces, backdrops, and props staged and ready
- A plan for keeping hot dishes hot and cold dishes cold between rebuilds
- Spare ingredients for at least three rebuilds per dish
- A basic touch-up kit (kitchen paper, cotton buds, a small spray bottle)
- Extra crockery in case of chips, smudges, or colour mismatches
How do you brief a photographer or stylist?
A vague brief produces vague photos. Before the shoot, hand your photographer or stylist a document covering exactly where each image will run, a shot list with reference photos for tone, any crop or aspect ratio requirements for delivery apps, and a realistic turnaround expectation.
Licensing deserves a specific conversation, not an assumption. Tell your photographer every channel the images will appear on, menu, delivery app, website, paid social ads, so the usage licence you agree actually covers your intended use. A licence scoped for a printed menu will not automatically cover a paid Instagram campaign.
When deliverables arrive, check for:
- Both raw files and fully edited JPEGs, so you retain flexibility later
- Pre-sized exports matched to each delivery platform's requirements
- Consistent, descriptive file naming or metadata so your team can find the right image fast
- A written note confirming which licence covers which use case
Alex Gell's commercial photography work follows this brief-first structure on every restaurant booking, which is precisely why the Leba Restaurant shoot moved quickly on the day itself.
Where should you deploy new photos first?
Update your delivery-app thumbnails for your top-selling dishes before touching anything else. That single platform sees the highest volume of quick, comparison-driven decisions, where a sharp, appetising thumbnail beats a dull one in the split second before a customer taps. Website hero images and your Google Business Profile come next.
Run a simple test rather than assuming the new photos work:
- Refresh two or three high-volume dishes and leave a similar set untouched as a control.
- Track impressions, clicks, and completed orders over a fixed period, ideally two to four weeks.
- Hold pricing and promotions steady during the test window so you are not measuring a discount instead of a photo.
- Judge results against marginal profit per order, not gross revenue, since a cheap dish selling more often may matter less than a high-margin one selling only slightly more.
Photo refreshes on delivery platforms have been linked to meaningful order increases in some cases, though the real lift depends heavily on how poor your existing photos were to begin with. Treat any headline percentage as a ceiling, not a guarantee, and let your own two-week test tell you the true number for your menu.
A short case note: the Leba Restaurant shoot
The Leba Restaurant project in Wokingham followed the structure laid out above almost exactly. Planning began with a moodboard agreed before anyone touched a camera, so the kitchen knew what "done" looked like before service was disrupted. The shoot itself ran on a 20-60-20 split: safe, well-lit inventory shots first, creative variations through the middle of the session, then a short window for a handful of ambitious setups.
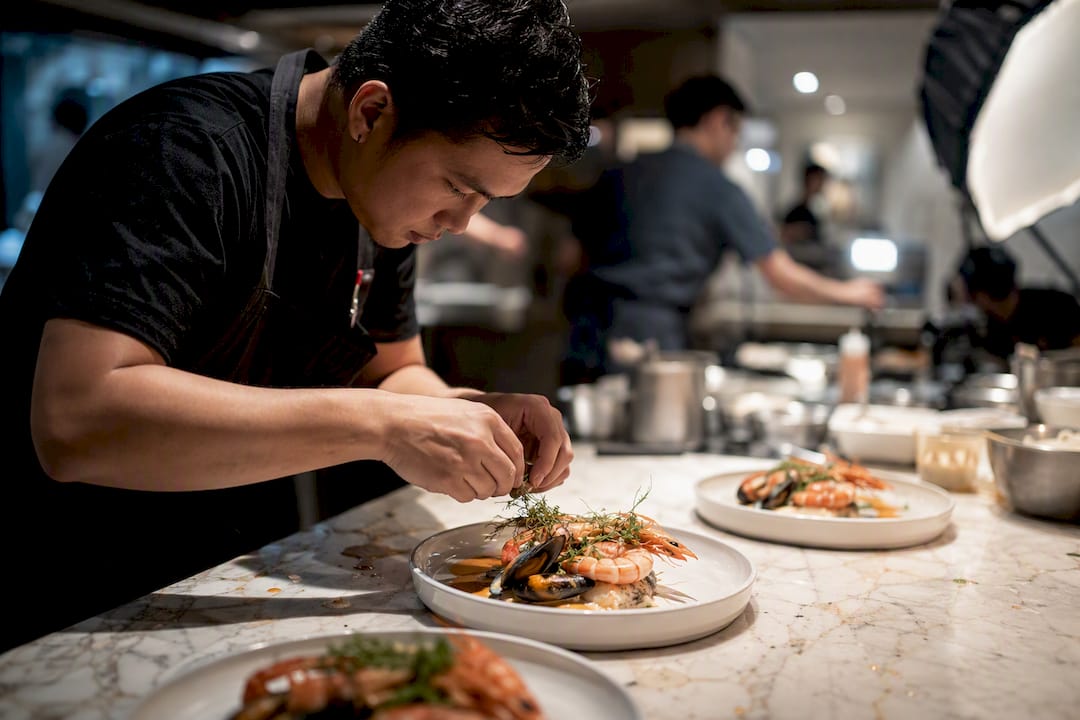
A dedicated kitchen runner rebuilt every plate to spec rather than pulling from the pass, which kept portions honest and consistent across dozens of dishes. Deliverables included edited images sized for delivery platforms alongside higher-resolution website assets, all covered by a usage licence matched to Leba's actual channels. The portfolio work from similar bookings shows the same pattern: plan first, shoot in phases, rebuild rather than reuse.
DIY, hire a professional, or go hybrid?
A small, focused menu with a handful of hero dishes is often manageable in-house, particularly with a tripod and one continuous LED panel. Once your menu grows complex, or your delivery volume is high enough that a weak thumbnail costs real orders, a professional shoot tends to pay for itself faster.
The hybrid model works well for most restaurants in between: phone photography with light AI enhancement for routine menu updates, paired with an occasional professional session for hero images and brand-defining shots. Whichever route you choose, keep every image honest to the plate that actually leaves your kitchen. A gorgeous photo that oversells the portion invites refunds and one-star reviews faster than no photo at all.
When restaurant owners ask me whether they should DIY or hire, the real question is never about budget. It's about how much your menu changes and how much a bad delivery-platform impression actually costs you in lost orders each month. Most places underestimate that second number badly.
— Alex
Book a menu photography session with Alex Gell
Alex Gell is the practical alternative to piecing together a shoot yourself or gambling on inconsistent phone photos across your menu, a properly planned session in Berkshire, Oxfordshire, or London gets every dish, from bestseller to seasonal special, shot to a consistent standard in one focused day.
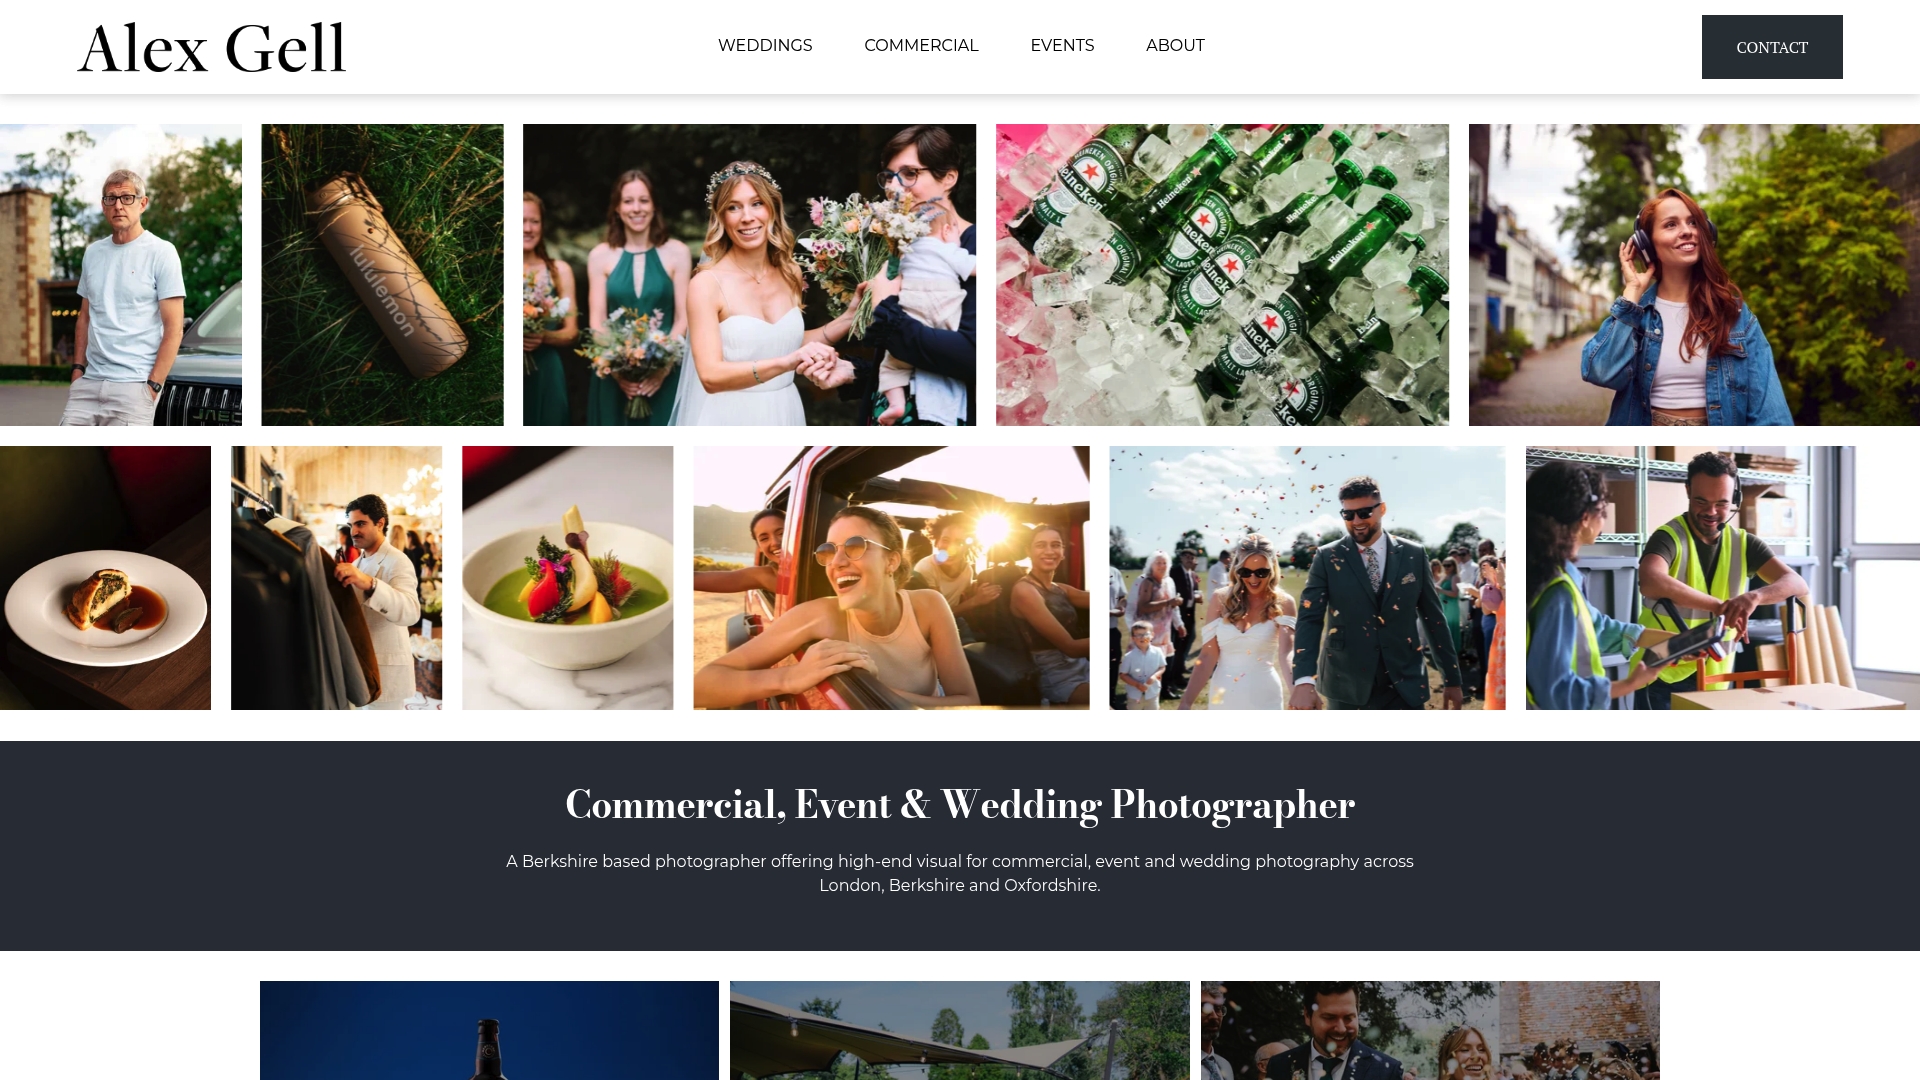
A typical booking starts with pre-shoot scoping and a moodboard, so your kitchen knows exactly what's being built before anyone picks up a spatula. From there, you get a shot list matched to your priority dishes, a shoot day run on the same phased structure used for the Leba Restaurant project, and edited deliverables sized correctly for your delivery apps, website, and social channels, all covered by a usage licence that matches where you actually plan to use them. If you're based in the capital, the commercial photography service page has full details on booking a session and typical turnaround. Get in touch to scope your shot list and lock in a date before your next menu refresh.
Sources
For more on the shoot-time framework referenced above, see Paul Nicklen's 20-60-20 rule. On order-lift data and testing caveats, see Beyond Menu's analysis, and for lighting and angle basics, Fudie's restaurant guide.
- Menu Photos & Online Orders: What the Data Shows (2026) | Beyond Menu
- Food Photography Tips for Restaurants: The Complete 2026 Guide | Fudie
