
No Studio, Under £100 Kit: Drinks Menu Photography for Bars and Cafes
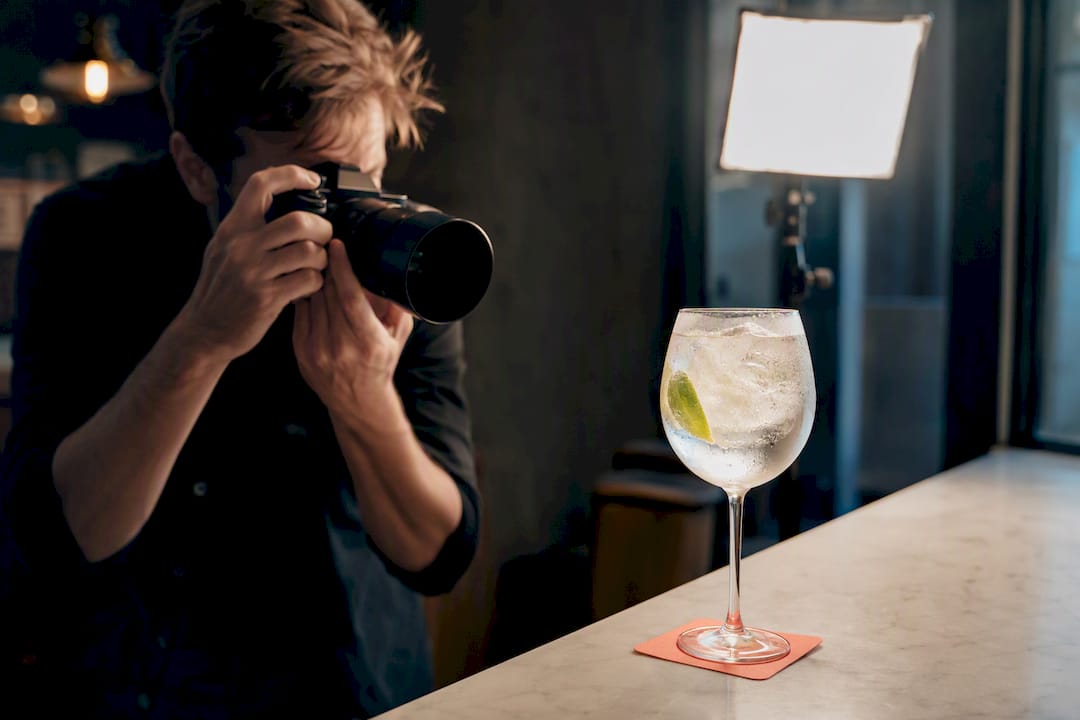
For menu and bar shots, control reflections with side-back lighting and run a fixed sequencing workflow: test the light with a stand-in glass, then add ice last, pour, garnish, and shoot in quick succession. This single habit fixes more failed drink photos than any camera upgrade. You do not need a studio. A phone, a £70 to £100 kit, and this order of operations get you menu-ready images, and Alex Gell uses the same principle on every commercial shoot.
TL;DR:
- A £70 to £100 kit with basic supplies and a fixed workflow is enough to produce menu-ready drinks photos without a studio.
- Backlighting works best for translucent drinks, while side lighting is ideal for opaque beverages to highlight texture and surface details.
- Proper preparation, including cleaning glasses, preparing ice, and testing lighting with stand-in glasses, is critical for high-quality results.
- Shooting multiple angles for each drink category and maintaining consistent angles across a menu improves visual recognition and customer trust.
- Professional photography offers faster, more consistent results suitable for marketing campaigns, menu licensing, and brand identity.
Table of Contents
- What do you need for drinks menu photography?
- Which lighting setup works best for drinks?
- How do you prepare glass and ice for photography?
- Which camera angle suits each glass type?
- How should you style drinks for a menu shoot?
- What's the fastest way to shoot a whole menu?
- What camera and phone settings work best for drinks?
- How do you edit and export drinks photos?
- When should you hire a professional drinks photographer?
- An editor's perspective on drink photography as brand storytelling
- Book professional drinks menu photography with Alex Gell
- Sources
- FAQ
What do you need for drinks menu photography?
You need less than most photographers assume. A basic kit under £100 handles the vast majority of menu shoots, and the checklist matters more than the gear.
Starter kit:
- Microfibre cloth (glass smudges ruin more shots than bad light)
- Spray bottle with a 50:50 glycerin and water mix for lasting condensation
- One white and one black foam board, A2 size
- A polarising filter, even a clip-on phone version
- A mini tripod for stability during longer exposures
- A sheet of diffusion fabric or a cheap softbox
This matches the sub-£100 kit widely recommended by beverage photography practitioners.
Pre-shoot checklist:
- Clean every glass and check under raking light for smears
- Have spare ice ready in a cooler, not the freezer, so it's grabbable
- Prepare garnish backups (a second mint sprig, a spare citrus twist)
- Set camera or phone: lock exposure, check white balance
- Write a shot list ordered by drink category
- Test your lighting position with a stand-in glass before touching the real drink
Cropping plan for each drink: shoot one near-square for menu tiles, one vertical for social reels or delivery apps, and one wide for hero banners. Capturing all three angles in one setup saves the need for a second shoot later.
Which lighting setup works best for drinks?
Light behaves differently depending on what's in the glass, and getting the hierarchy wrong is the most common reason drink photos look flat.
Backlight for translucent drinks. Gin and tonics, whisky sours, rosé wine — anything you can see through benefits from light placed behind and slightly above the glass, angled around 45 degrees. This lets light pass through the liquid rather than bounce off it, which is why backlighting is considered the single most effective technique for translucent drinks. It creates a glow inside the liquid and kills most of the reflections you'd otherwise fight from the front.
Side light for opaque drinks. Espresso martinis, creamy cocktails, stouts, and milkshakes need side lighting to reveal texture and surface detail, since light can't pass through them.
Side-back at 10 to 11 o'clock is the position most bar photographers default to, because it works for both categories without repositioning the light between drinks.
Setup specifics:
- Position your key light 12 to 24 inches from the glass
- Diffuse it through fabric or a shoot-through umbrella to soften harsh edges
- Use a white foam board opposite the light to bounce fill into shadows
- Use a black foam board or "flag" on the reflective side to kill unwanted bounce
In mixed-light bars with fairy lights, spotlights, and neon all fighting for attention, create one dominant light source by dimming or blocking the others, wear dark clothing so you don't reflect in the glass, and use black card to block anything reflecting where you don't want it.
Pro Tip: A polarising filter often does more for a drink photo than a lens upgrade. Rotate it while looking through the viewfinder or phone screen and watch glare disappear from the glass in real time.
How do you prepare glass and ice for photography?
Cloudy ice and a smudged glass are the two fastest ways to make a £15 cocktail look like a £5 one, and both are fixable with kit you already own.
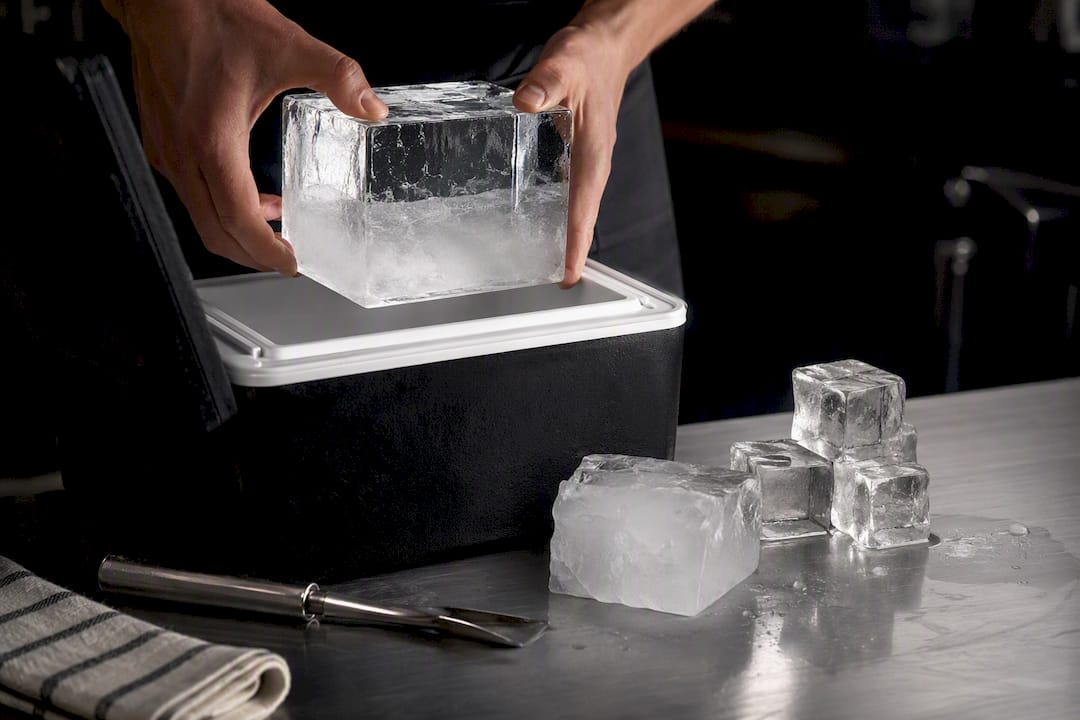
Clear ice comes from directional freezing: fill an insulated cooler with water and place it in the freezer for 24 to 36 hours. The cooler forces ice to freeze from the top down, pushing cloudy air bubbles to the bottom, which you cut away. This directional freezing method is standard in bars and studios alike. For long shoot sessions where ice will melt before you finish, acrylic or resin fake ice cubes are a legitimate substitute, particularly for hero shots that don't need real condensation.
Condensation that lasts through a shoot rarely happens on its own. Mix equal parts glycerin and water in a fine-mist spray bottle and apply lightly to the glass before shooting. It beads and holds far longer than plain water, and it's food-safe, though you should still keep the bottle labelled and away from anything the drink itself touches.
Cleaning routine:
- Wipe every glass with a microfibre cloth before it goes in front of camera
- Use an alcohol wipe on stubborn fingerprint marks the cloth won't shift
- Inspect under your key light before every single shot, not just once at the start
Pro Tip: Keep a rubbish glass on set purely for light testing. Never risk your hero glass picking up smudges during setup.
Which camera angle suits each glass type?
Consistency across a menu matters more than any single dramatic shot, and consistency starts with matching the angle to the glass.
| Glass or drink type | Best angle | Why |
|---|---|---|
| Coupe or stemmed glass | Straight-on, table height | Shows the glass shape and liquid clarity |
| Highball or tall glass | 30 to 45 degrees | Reveals garnish and ice without distorting height |
| Layered drinks | Side profile, eye level | Preserves visible layers |
| Flat builds and flights | Top-down (overhead) | Shows arrangement of multiple items at once |
Consistent angles across a menu category help diners scan options faster, which is exactly what a menu needs to do its job.
Composition basics that apply across all four:
- Use the rule of thirds; don't centre the glass every time
- Keep headroom consistent across every shot in the same category
- Leave negative space around the drink for menu cropping and thumbnail use
- Photograph every item in a category from the same angle, even if it means a second pass
Building your shot list by category rather than by drink name makes this far easier to enforce on the day.
How should you style drinks for a menu shoot?
Restraint sells better than clutter. Two props at most: a cocktail pick, a coaster, a spare garnish on the side. Beyond that, the eye goes to the props instead of the drink.
Garnishes need to earn their place twice: they need to photograph well and survive the shoot. A wilting mint sprig or browning citrus wheel reads badly on camera within minutes, so keep two or three backups prepped and chilled.
Surface and colour pairing follows a simple rule: put warm-toned drinks (whisky, amber cocktails, mulled wine) on cool surfaces like dark slate, and put cool-toned drinks (gin, blue curaçao, most white wine) on warm surfaces like light wood. A three-surface kit covers almost every drink you'll ever shoot: dark slate, light wood, and a neutral linen for anything that needs a softer, more editorial feel.
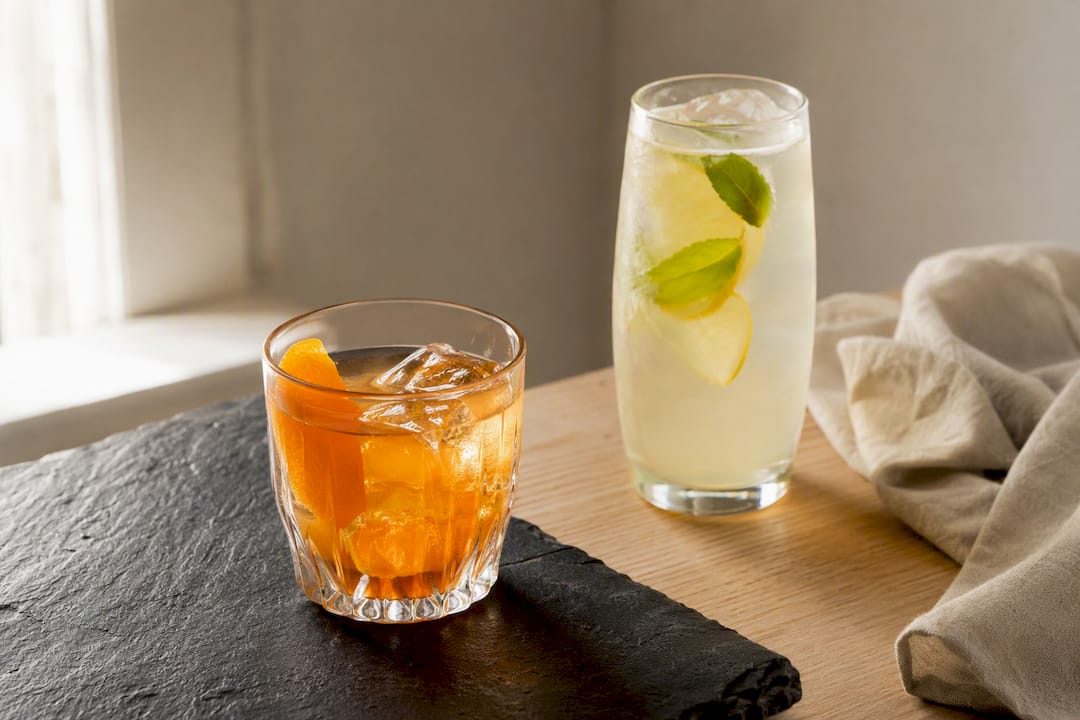
Complementary colour pairing (orange drink, blue background; red drink, green background) consistently produces stronger thumbnails, because images with intentional colour contrast draw the eye faster in a scrolling feed or a printed menu grid than tonally flat shots do. If you're working with a brand's existing visual identity, a brand photography guideline framework helps you decide which surfaces and colours to lock in before the shoot day.
What's the fastest way to shoot a whole menu?
Treat a full menu as a production, not a series of individual photos. The order below is what separates a four-hour shoot from an all-day one.
Pre-shoot:
- Build a shot list grouped by glass type, not alphabetically
- Create a simple mood board so styling stays consistent across categories
- Tier drinks by priority: hero cocktails first, standard pours second
- Set up an ice station and garnish station within arm's reach of the shooting area
In-shoot sequencing:
- Test your light and framing with a stand-in glass and dummy fill
- Once locked, pour the real drink
- Add ice last, since it's the most time-sensitive element in most photos
- Add garnish
- Shoot a short burst series rather than a single frame, so you have options if foam collapses or a garnish shifts
Sequencing time-sensitive elements last is what separates a rushed amateur attempt from a controlled professional one; it's the difference between chasing melting ice and simply having none to chase. Keep backups on standby for foam and herb garnishes specifically, since they degrade fastest.
Batching strategy: shoot every highball together, then every coupe, then every flight. Grouping by glass type means you set your lighting once per category instead of adjusting it for every single drink, which is where most of the wasted time in a menu shoot actually happens.
Run a quick QC check every five or six shots: zoom into the ice, check the garnish hasn't wilted, and confirm the background hasn't picked up a stray reflection.
What camera and phone settings work best for drinks?
On a camera: shoot at f/4 to f/5.6 for enough depth of field to keep the whole glass sharp without a distracting blurred background. Use a shutter speed of at least 1/125 for handheld pours and freeze-frame condensation detail; go faster for pours in motion. Keep ISO as low as your light allows, and only push it once your key light is diffused and positioned, not before.
On a phone: use the 2x or telephoto lens whenever your phone has one, since the standard wide lens distorts glass shapes at close range. Lock exposure and focus with a long press on the screen before shooting, and shoot in RAW or ProRAW if available for far more room to fix white balance later. Phone workflows that combine optical zoom with a single controlled light source routinely produce menu-ready results.
Accessories worth the money: a clip-on polariser cuts glass glare dramatically, a mini tripod removes camera shake on longer exposures, and a cheap remote trigger or timer stops your hand movement from blurring a locked-in shot.
How do you edit and export drinks photos?
The eight-step edit:
- Correct exposure first, before touching anything else
- Fix white balance so ice reads white, not blue or yellow
- Add contrast to give the drink depth
- Recover shadow and highlight detail lost in the glass
- Adjust HSL sliders to make the drink's colour pop without looking artificial
- Remove dust spots or stray reflections
- Sharpen selectively, focusing on the rim and garnish
- Export using a saved preset so every image in the set matches
Export sizes:
- Near-square (1080 x 1080px) for menu tiles and Instagram grid posts
- Vertical (1080 x 1920px) for Stories, reels, and delivery app hero images
- Wide (1920 x 1080px or wider) for website banners and printed menu headers
Keep retouching honest. Enhancing colour and clarity is standard practice; adding a garnish that wasn't there or making a portion look larger than what's served crosses into misrepresentation, which is a problem for any hospitality business relying on repeat custom.
When should you hire a professional drinks photographer?
A DIY kit gets most operators most of the way there. But a 40-item cocktail list shot in an afternoon, a hero campaign for a seasonal launch, or licensing for paid social ads are different jobs entirely, and that's where the maths shifts toward hiring a specialist.
Alex Gell's menu shoot for Leba Restaurant in Wokingham is a useful example: a full drinks and food menu shot with consistent lighting and angle discipline across every category, delivered with commercial usage rights baked in. The Oxfordshire brand photography guide covers a similar brand-first approach for operators expanding their visual identity beyond a single shoot.
High-quality beverage imagery has measurable marketing value for restaurants: diners increasingly expect visuals, and images shape what they order.
A professional shoot typically delivers:
- A full lighting kit already calibrated, so no time lost to trial and error
- Rapid sequencing across dozens of drinks in one session
- Clean, licensed files ready for menus, apps, and paid social
An editor's perspective on drink photography as brand storytelling
Consistent lighting and styling across a menu does more than make individual drinks look good. It builds a visual identity a diner recognises before they even read the name of the cocktail. I'd argue most menus fail not because the photography is bad, but because it's inconsistent: one hero shot lit beautifully, followed by ten flat afterthoughts.
A planned shoot with a locked shot list costs less than it looks like it should, because you're not paying for wasted time chasing melting ice or hunting for a light that works. That planning is also what drives menu conversions: diners choose what they can clearly see and trust looks the way it's photographed.
If you're planning a menu shoot and want a second opinion on your shot list before the day, I'm always happy to talk it through.
— Alex
Book professional drinks menu photography with Alex Gell
Alex Gell is the practical alternative to piecing together a DIY shoot when a menu, seasonal launch, or delivery app refresh needs to look right the first time, everywhere it appears. A typical commercial package covers the full shoot, styling coordination with garnishes and surfaces matched to your brand, professional editing across every export size a menu, app, and social feed needs, and a commercial licence so the images can be used across marketing without a second negotiation.
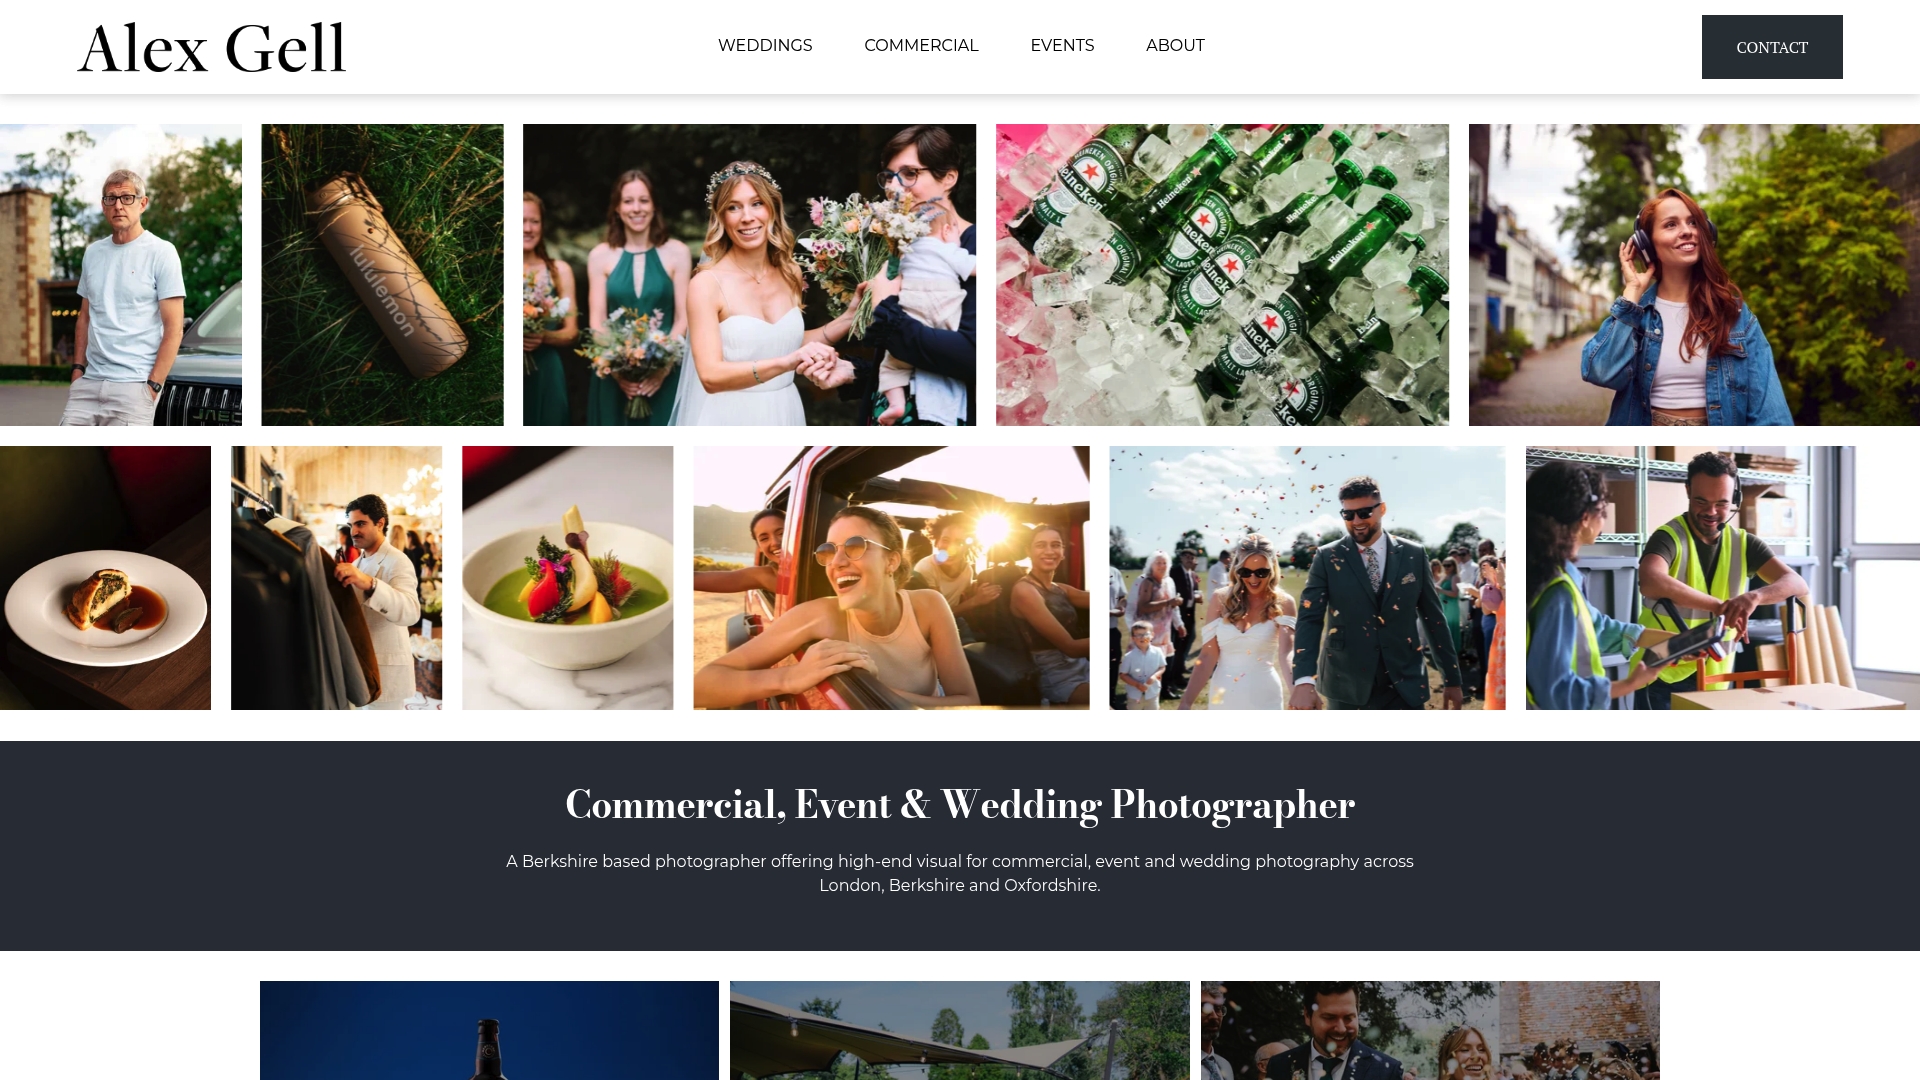
For operators, that means speed (a full menu shot in a single session rather than spread across weeks), consistency across every category on the list, and none of the revision back-and-forth that comes with in-house attempts. If your business is in London, Berkshire, or Oxfordshire and your current menu photography looks like it was shot by three different people on three different days, get in touch through the Commercial Photographer London page to talk through your next shoot.
Sources
FAQ
What is the best way to photograph drinks?
Use side-back lighting positioned around 10 to 11 o'clock relative to the glass, and sequence your shoot so ice goes in last, right before you shoot, to avoid melt and cloudy reflections.
How do you design a drinks menu with photography in mind?
Group drinks by glass type and shoot each category from the same angle, since a consistent visual grid helps diners scan and choose faster than a menu of mismatched hero shots.
What is the 2:1:1 rule for cocktails?
It's a common cocktail-mixing ratio (2 parts spirit, 1 part sweet, 1 part sour), not a photography rule, though many of the drinks built on this ratio, like daiquiris and margaritas, photograph well under backlight because of their translucency.
